At the end of this tutorial you’ll be able to video stream from your Raspberry Pi to Amazon Kinesis.
If you haven’t already, setup a headless Raspberry Pi. For this tutorial I’m using a Raspberry Pi 3 Model B with the Camera Module V2 running Raspian with Desktop (currently, that’s Raspian Buster version: February 2020).
Configure the Raspberry Pi camera#
- Connect via SSH
$ ssh pi@<YOUR_PI_IP_ADDRESS> - Open the
modulesfile and add the following linebcm2835-v4l2to the end of the file:
$ sudo nano /etc/modules

- This will effectively load the V4L2 driver module for your camera every time your Raspberry Pi starts up (see
sudo modprobe bcm2835-v4l2) - Save the
modulesfile and exit the editor (control + X) - Run
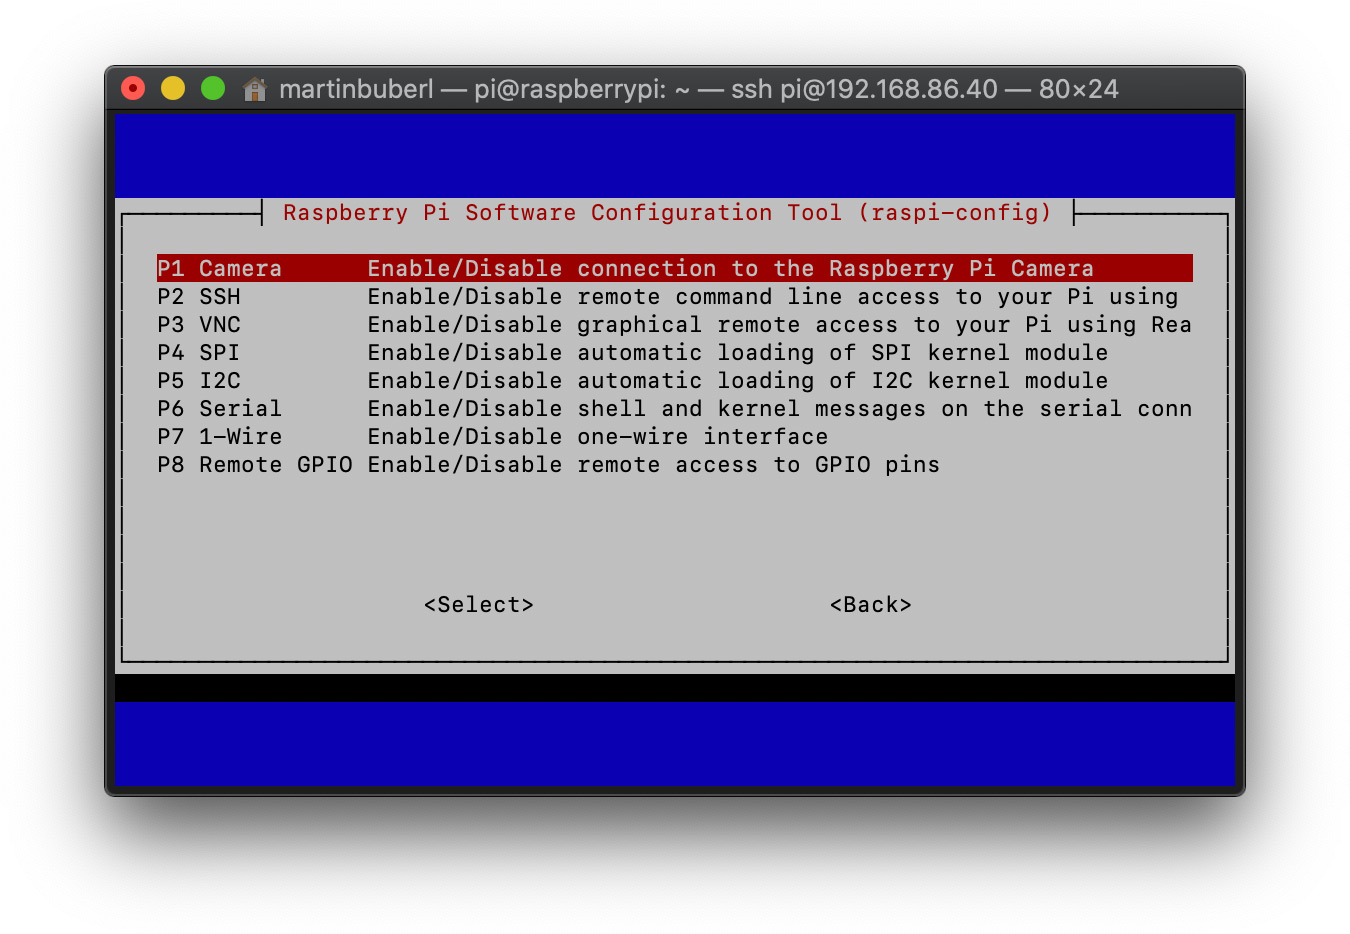
$ sudo raspi-config, open Interfacing Options and enable Camera:

- Reboot your Raspberry Pi if prompted, or run
$ sudo reboot now
Snap a picture#
Let’s snap a picture to verify that your Raspberry Pi camera is configured correctly. You can do this by using raspistill.
- Reconnect to your Raspberry Pi via SSH
$ ssh pi@<YOUR_PI_IP_ADDRESS> - Run the following raspistill command to take a picture:
$ raspistill -o cam.jpg
- Check if
cam.jpgis there! You can simply check your file directory$ lsor download the picture via SSH.
Congratulations! This is propably the first photo you’ve ever taken with your Raspberry Pi and most likely also the most complicated one you’ve ever taken, yay!
Build the Amazon Kinesis Video Streams Producer SDK#
You’ll be using the Amazon Kinesis Video Streams Producer SDK for C++ to stream the Raspberry Pi’s video to Amazon Kinesis Video Streams. In order to do that we need to build it first.
Install prerequisites#
There are a few build-time tools/dependencies which need to be installed on your Raspberry Pi in order to build the core producer SDK libraries.
- Reconnect to your Raspberry Pi via SSH
$ ssh pi@<YOUR_PI_IP_ADDRESS> - Update your package lists and upgrade them to their newest version by running:
$ sudo apt-get update
$ sudo apt-get upgrade
- Install the build tools CMake, Yacc and OpenJDK (Open Java Development Kit):
$ sudo apt-get install cmake
$ sudo apt-get install byacc flex
$ sudo apt-get install openjdk-8-jdk
- Set the
JAVA_HOMEenvironment variable:
$ export JAVA_HOME=/usr/lib/jvm/java-1.8.0-openjdk-armhf/
- Create a certificate named
cert.pem:
$  cd /etc/ssl
$  sudo nano cert.pem
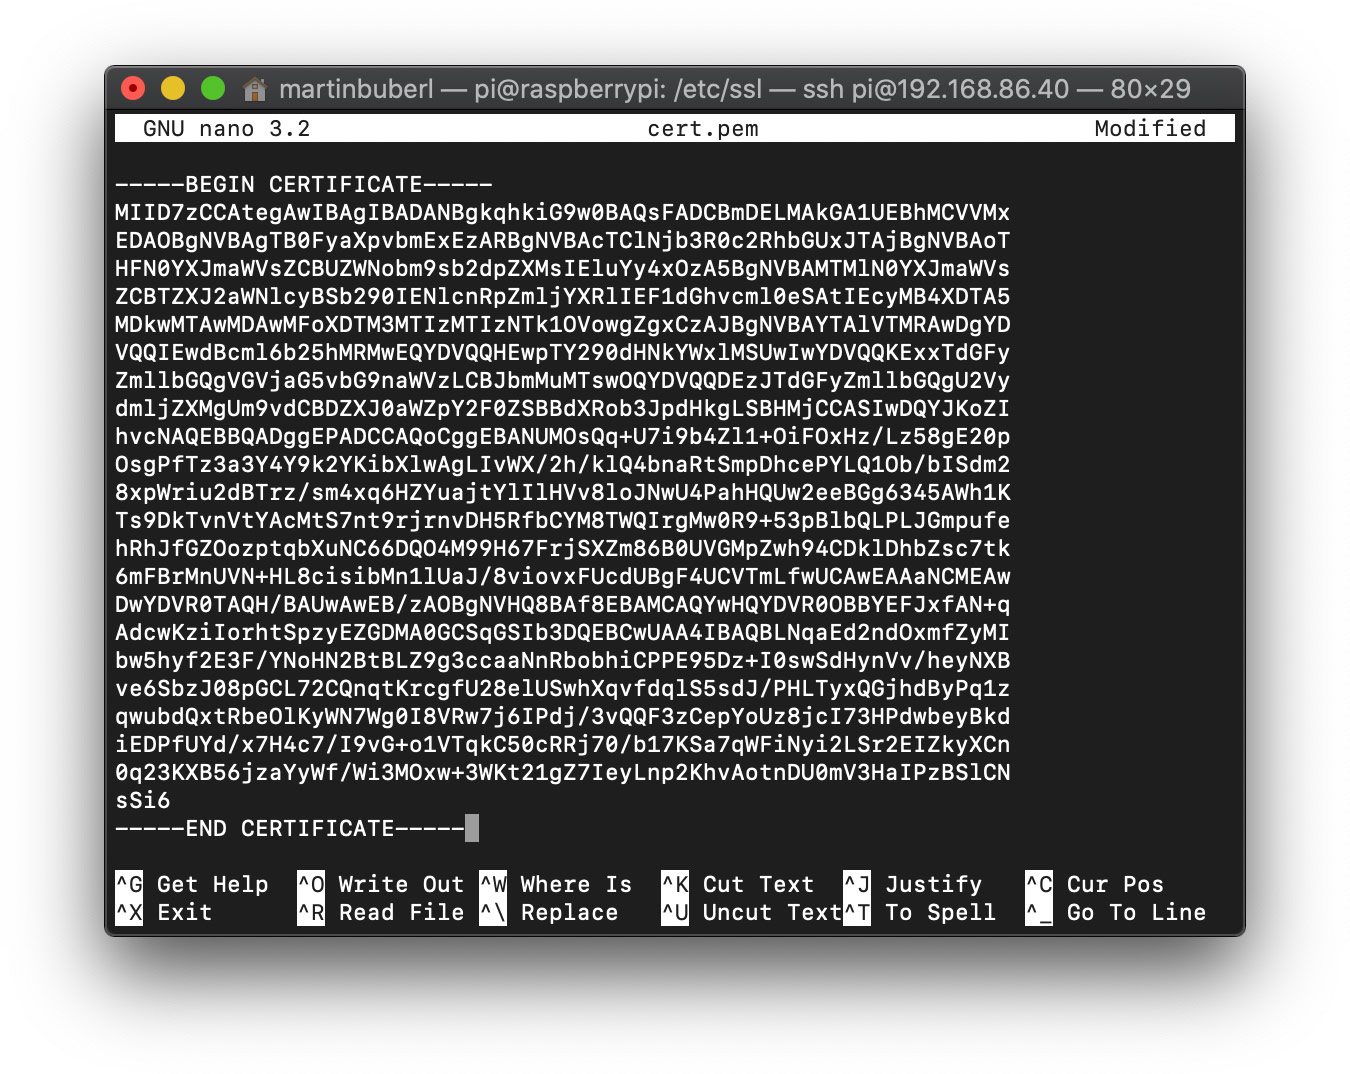
- Copy and paste the following root certificate from the Amazon Trust Services into
cert.pem:
https://www.amazontrust.com/repository/SFSRootCAG2.pem

- Save the
cert.pemfile and exit the editor (control + X)
Build the Producer SDK#
- Install the Producer library and Gstreamer artifact dependencies to successfully run the
min-install-scriptscript on Raspbian:
$ sudo apt-get install libssl-dev libcurl4-openssl-dev liblog4cplus-1.1-9 liblog4cplus-dev
$ sudo apt-get install libgstreamer1.0-dev libgstreamer-plugins-base1.0-dev
$ sudo apt-get install gstreamer1.0-plugins-base-apps gstreamer1.0-plugins-bad gstreamer1.0-plugins-good gstreamer1.0-plugins-ugly gstreamer1.0-tools gstreamer1.0-omx
- Download the code from GitHub:
$ cd /home/pi/Downloads
$ git clone --branch '2.1.0' https://github.com/awslabs/amazon-kinesis-video-streams-producer-sdk-cpp
(you should take version 2.1.0 to make it work since there is a new folders’ structure and build tactics since version 3.0)
- Change your current working directory to the install directory and run the
min-install-scriptscript to build the Producer SDK:
$ cd amazon-kinesis-video-streams-producer-sdk-cpp/kinesis-video-native-build/
$ ./min-install-script

Setup kvssink#
We need to adjust the path so that Gstreamer can refer to libgstkvssink.so. kvssink is the sink (final destination of the pipeline) to send video to the Producer SDK.
- You can do that by running the following commands:
$ export LD_LIBRARY_PATH=/home/pi/Downloads/amazon-kinesis-video-streams-producer-sdk-cpp/kinesis-video-native-build/downloads/local/lib:$LD_LIBRARY_PATH
$ export GST_PLUGIN_PATH=/home/pi/Downloads/amazon-kinesis-video-streams-producer-sdk-cpp/kinesis-video-native-build/downloads/local/lib:$GST_PLUGIN_PATH
$ mkdir /home/pi/Downloads/amazon-kinesis-video-streams-producer-sdk-cpp/kinesis-video-native-build/downloads/local/lib/gstreamer-1.0/
$ cp -p /home/pi/Downloads/amazon-kinesis-video-streams-producer-sdk-cpp/kinesis-video-native-build/libgstkvssink.so /home/pi/Downloads/amazon-kinesis-video-streams-producer-sdk-cpp/kinesis-video-native-build/downloads/local/lib/gstreamer-1.0/
Stream to Amazon Kinesis Video Streams#
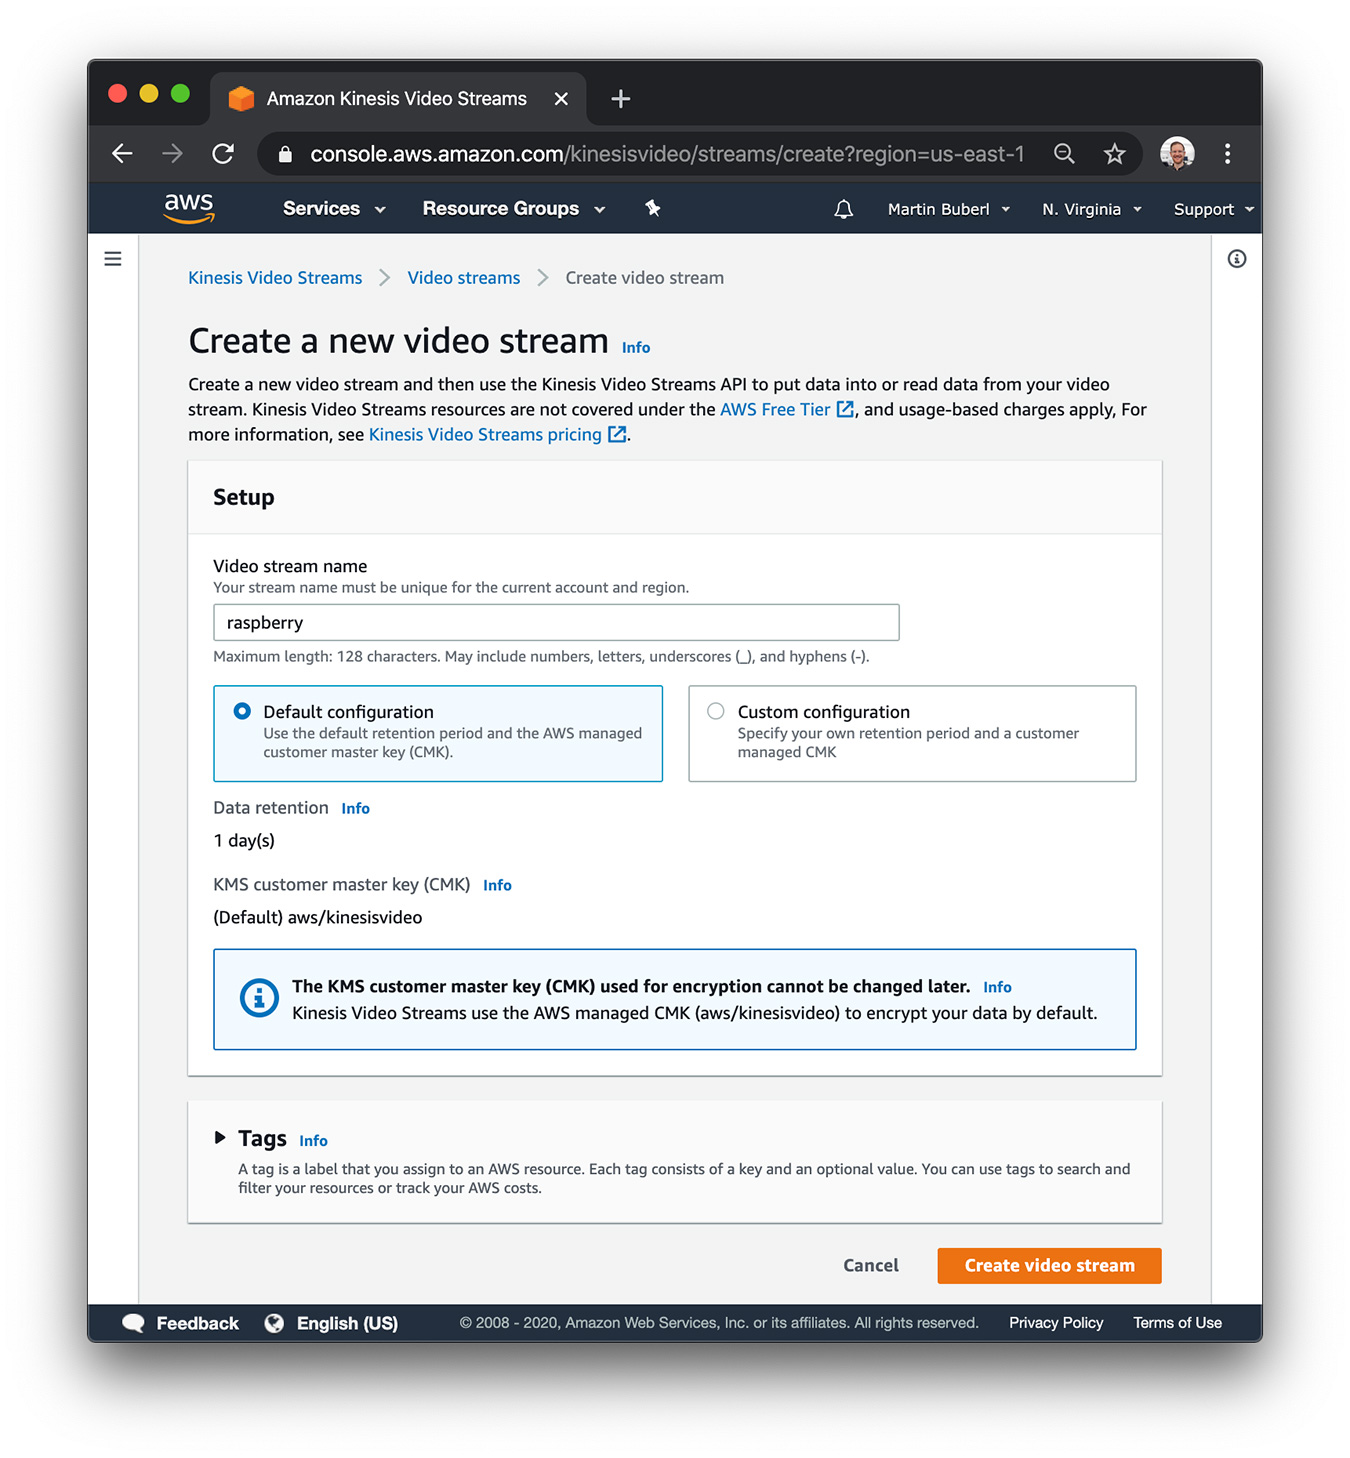
Create a Kinesis video stream in your AWS Management Console in the region US East (N. Virginia) us-east-1 with the name raspberry using the Default configuration.

Create an IAM user raspberry with the access type programmatic access and attach the AmazonKinesisVideoStreamsFullAccess policy (or the appropriate privileges for your AWS account).
Store this user’s access key ID and secret access key in a safe place as we’ll need those later.
Stream using Gstreamer#
Run gst-launch-1.0 with the following options, but make sure to replace YOUR_ACCESS_KEY and YOUR_SECRET_KEY with your actual keys:
gst-launch-1.0 v4l2src device=/dev/video0 \
! videoconvert \
! video/x-raw,format=I420,width=640,height=480 \
! omxh264enc control-rate=2 target-bitrate=512000 periodicity-idr=45 inline-header=FALSE \
! h264parse ! video/x-h264,stream-format=avc,alignment=au,profile=baseline \
! kvssink stream-name="raspberry" \
access-key="YOUR_ACCESS_KEY" \
secret-key="YOUR_SECRET_KEY" \
aws-region="us-east-1"
Verify the stream#
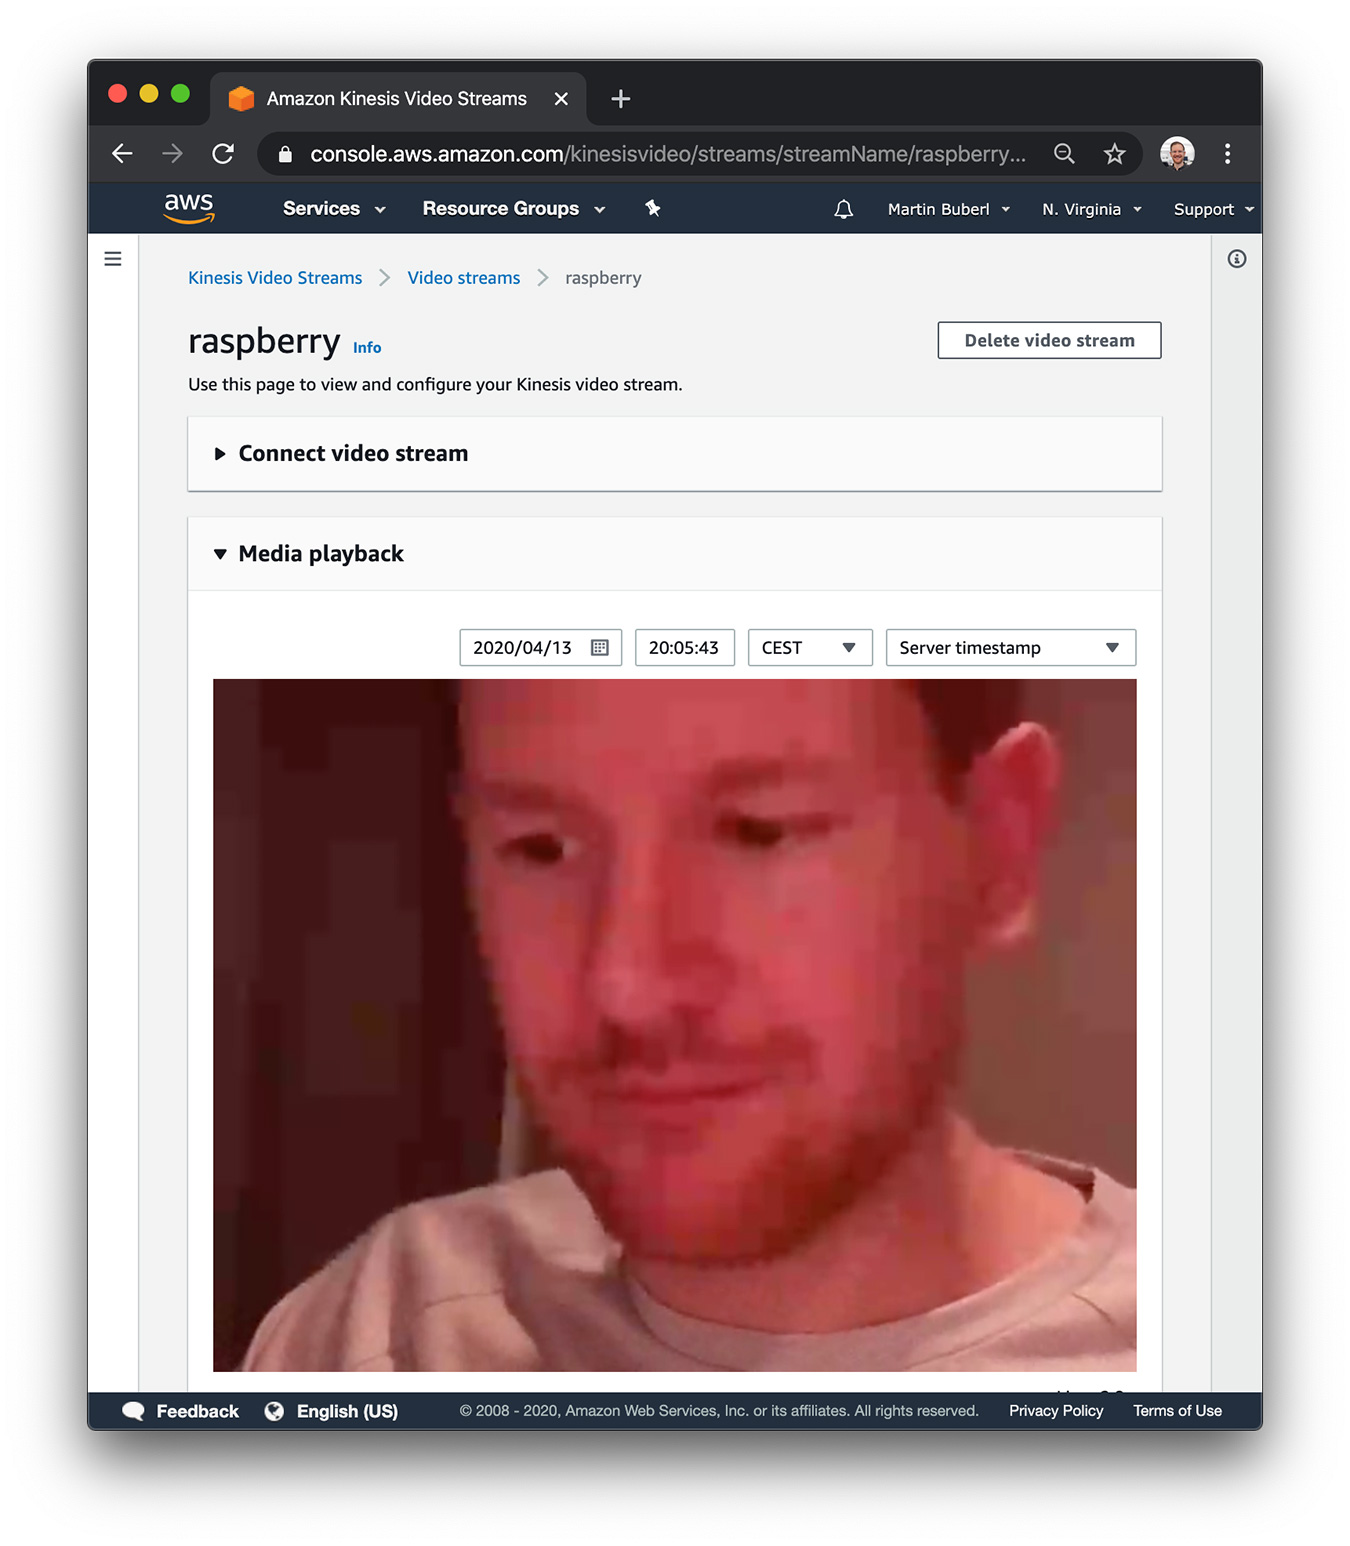
Open the Media playback section of your Kinesis Video Streams’ stream raspberry in the AWS Management Console to verify that the camera input is successfully sent to Amazon Kinesis.

